How to Repaste and Replace Thermal Pads on a Second-Hand GPU (UK Thermal Putty Guide)
Advertisement
You have just scored a bargain second-hand RTX 3080 or RX 6800 XT on Koukan or eBay for £300, but the moment you launch a gaming benchmark, the fans spin up to a deafening 100% and HWInfo64 reveals a horrifying 105°C GPU Hot Spot temperature while the average core registers a deceptively mild 72°C. You are suffering from thermal paste pump-out and dried, crusty factory thermal pads.
After 3 to 5 years of thermal expansion cycles, factory silicone oil bleeds out, leaving chalky paste that fails to bridge microscopic gaps between the bare silicon die and the copper vapor chamber. By taking 45 minutes to repaste the core and refresh the VRAM/VRM cooling interfaces, you can reliably drop hot spot temperatures by 12°C to 18°C, restore acoustic silence, and prevent thermal throttling. Here is the complete step-by-step UK enthusiast guide.
1. Required Tools & UK Material Sourcing
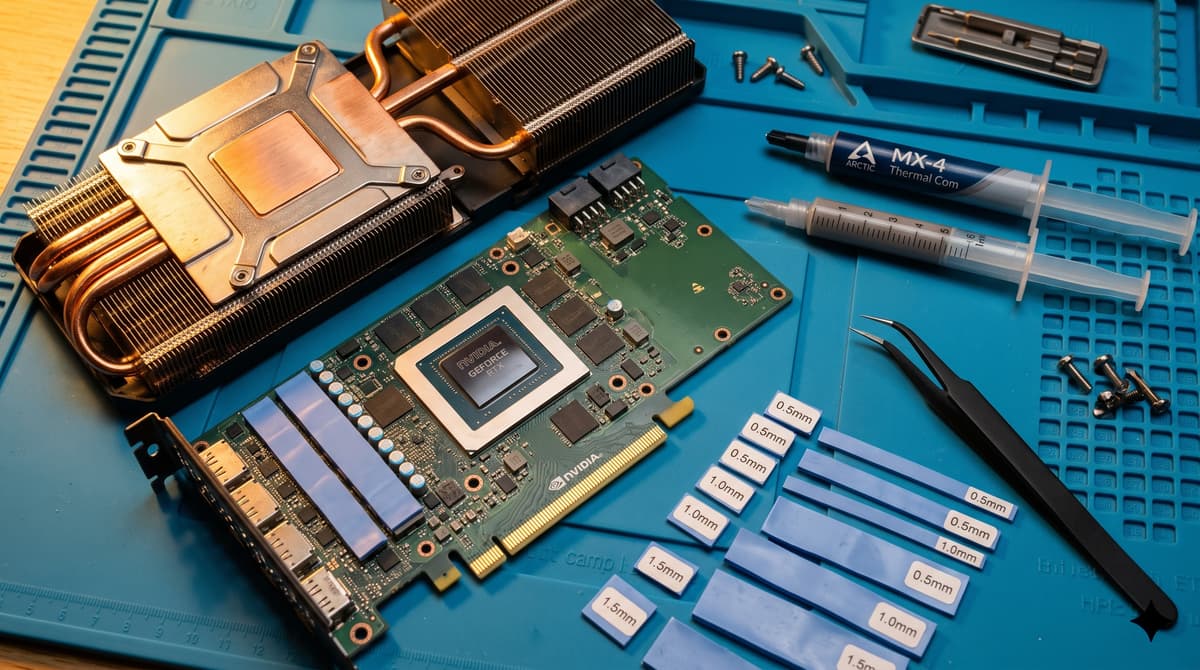
Do not use generic DIY store solvents or random kitchen screwdrivers. Working with bare silicon dies requires non-conductive compounds and precision torque:
| Item | Recommended Product | Est. Cost (UK) | Why It Matters |
|---|---|---|---|
| Thermal Paste | Arctic MX-6 or PTM7950 Phase-Change | £6 – £14 | High viscosity resists pump-out on bare dies without an integrated heat spreader. |
| VRAM/VRM Interface | Upsiren U6 Pro Thermal Putty or Gelid GP-Ultimate | £12 – £18 | Putty conforms to any tolerance (0.5mm–2.5mm), eliminating mounting pressure mismatch. |
| Cleaning Solvent | 99.9% Isopropyl Alcohol (IPA) | £5 (250ml) | Dissolves baked-on silicone without leaving water residue or corroding solder joints. |
| Precision Drivers | PH0 / PH1 Magnetic Screwdriver | £8 | Prevents stripping delicate spring-loaded heatsink screws and backplate standoffs. |
2. Step-by-Step Teardown Procedure
Run FurMark or a gaming benchmark for 5 minutes right before turning off your PC. Cold thermal pads act like industrial adhesive. Attempting to pull apart a cold GPU can rip surface-mounted capacitors or memory chips straight off the printed circuit board.
Turn the card over and locate the four spring-tensioned screws surrounding the GPU core socket. Loosen each screw half a turn at a time in an alternating diagonal criss-cross pattern. This prevents uneven pressure on the rectangular silicon crystal, which has zero metal heat spreader to protect it from chipping.
Gently twist the heatsink to break the pad suction—never pull directly upwards. Once the heatsink separates by a centimetre, inspect the interior for small 4-pin fan cables and LED plugs. Use plastic tweezers or fingernails on the connector body—never pull on the wires.
Saturate a lint-free wipe or coffee filter with 99.9% IPA. Clean the mirror finish of the silicon die until all old paste is removed. Clean around the tiny SMD capacitors bordering the die using an isopropyl-dampened soft toothbrush.
3. Applying New Compound & Reassembly
Unlike desktop CPUs where a pea-sized dot in the centre is sufficient, direct-die GPU cooling requires 100% surface coverage. A single exposed corner of the silicon die will trigger thermal protection and shut down the computer:
- The Spread Method: Apply a generous line of paste and use the included plastic spatula to spread an even, opaque layer across the entire die surface.
- Thermal Putty Application: Roll small pea-sized balls of putty onto each GDDR6/GDDR6X memory module and MOSFET power stage. When tightened, the coldplate will compress the putty into a custom wafer.
- Even Torque Re-installation: Reattach the spring retention bracket using the diagonal criss-cross method, tightening each screw until it stops naturally. Never overtighten.
Before & After Results
On an average 3-year-old NVIDIA RTX 3080 Founders Edition, a fresh repaste and Upsiren U6 Pro putty application typically yields:
Advertisement